|
|
 Creating photographic panoramas with PhotoVista
Shooting a panorama
By Mike Slocombe for Internet Magazine, June 2004
 1. Pick your spot
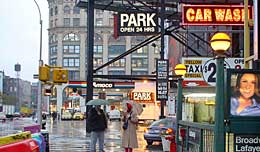
Before you start shooting, spin around 360 degrees to look out for any potential problems that might affect the exposure - low sunlight, bright reflections, dark shadows or oncoming traffic, for example.
Scenes full of moving cars or shuffling commuters can be difficult to stitch together, especially if they're coming in or out of frame.
Be careful not to end up with pedestrians appearing in repeated frames as you spin around - it'll look daft.
More info: Setting up to shoot a panorama (PanoGuide.com)
2. Shoot high and slow
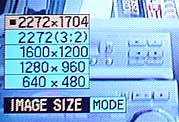 If you're using a digital camera, we recommend using the highest resolution setting- the more information you gather at this stage the better, but make sure your memory card has a big enough capacity!
If you're using a SLR or compact camera, use a slow film (50/100ASA) to capture maximum detail.
3. Set the lens
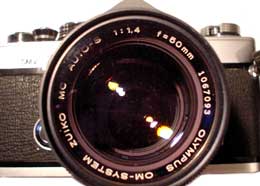 Panorama software relies on all the images being taken with the lens set to the same focal length, so don't go fiddling about with the zoom lens half way through.
In most instances, a 'standard' lens will do the job just fine (i.e. one that produces a viewpoint that roughly corresponds to your own).
Make sure that each picture 'overlaps' the preceding one by around 30-50 per cent, but don't worry about being completely precise.
More info: What equipment? (PanoGuide.com)

4. Close that aperture!
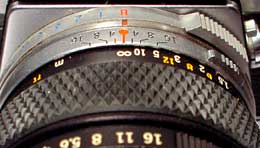 Panoramic pictures are usually more about capturing a place than a moment, so aim for a sharp, crisp picture that shows the entire scene in focus, from the foreground to the far horizon.
If you're using a manual SLR camera, close the aperture down to f11/f16 (you'll need a tripod if there's not much light about), otherwise select 'landscape mode' on your automatic camera.
More info: Controlling Depth of Field - hyperfocal distance
5. Set the exposure
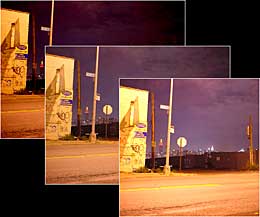 Panoramas work best when all the component images are uniformly exposed, but this can be difficult if your scene contains areas of dark shadow and strong light.
Use an exposure lock (if your camera has one) or try experimenting with the camera's settings and retaking potentially tricky images several times, just in case.
If the lighting remains too harsh, consider reshooting the scene at a different time of day.
6. Cut the flash
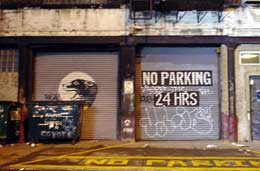 If the scene you're capturing is a bit dark, you might find that your camera starts prompting you to use a flash gun. Ignore it!
Most built in flashes are pretty feeble things that would struggle to illuminate a large scene, casting dark shadows all over the shop.
These could cause real problems when stitching the panorama later.
Instead, use long exposures and a tripod or if you're feeling adventurous, look up this Studio lighting guide
|

