|
|
 Creating photographic panoramas with PhotoVista
Preparing your images
By Mike Slocombe for Internet Magazine, June 2004
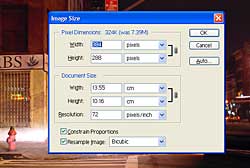
1. Size 'em up
 Almost all panorama packages require that the component photographs are the same dimensions.
So if you're scanning in prints, make sure that they're all saved at exactly the same size and resolution and numbered in the correct order (*e.g. image01.jpg, image02.jpg etc).
PhotoVista recommends that 384 x 256 pixels is ideal for Internet use, although we prefer to build a higher resolution panorama and reduce the final image afterwards (see 'retouching panoramas')
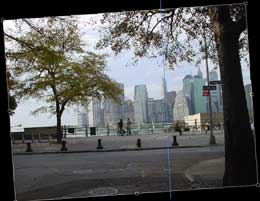
2. Correct your wobbly horizons
 The good news is that most panorama software can usually do a great job of correcting lurching horizons and leaning verticals - but if your panorama was taken under the influence of powerful hallucinogens, you may have problems!
You should be able to correct any spectacularly wobbly horizons in most graphics packages using the 'rotate' and 'perspective' tools.
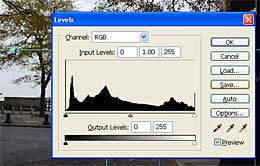
3. Tweak exposure
 Most panorama software will automatically try to compensate for varying exposure levels, but if individual images have dramatic differences in brightness compared to the others, they may stick out like a sore thumb in the finished panorama.
A brief fiddle about with the 'curves', 'levels' and 'brightness/contrast' settings in a graphics program should improve things.
More info: Manual and automatic colour correction
|

